


Your device is ready to go
Get started now: just switch on the card reader and start making sales. With built-in technologies such as color touchscreen display, GPS, 4G and Android™ operating system, the PAX A920 Pro mobile payment terminal marks the beginning of a new era in digital payments by offering functionality, innovative services and maximum security thanks to PCI PTS 5.x certification.
One card reader, many advantages
myStore Dashboard
With our online dashboard, you are in control at all times. The intuitive and easy-to-navigate interface gives you real-time updates on all payments.
Alternative payments
Thanks to our advanced technology, you can accept payments via the most common card schemes, such as Visa and Mastercard, and the most popular wallets: Apple Pay, Google Pay, Samsung Pay.
Warranty and maintenance
In addition to the warranty of the purchased product (12 months), a maintenance service is included with:
- Remote support via e-mail
- Regulatory changes managed with software updates (for up to 36 months)
- SIM assistance (up to 36 months)
4G connectivity and Wi-Fi
The card terminal includes a SIM card that automatically connects to the 4G network with the best coverage in the area where you are. While data traffic is included, you can also connect it to your shop’s Wi-Fi network. Moreover, the included printer enables wide mobility.

FAQ and assistance
Technical specifications of the PAX A920 Pro Android terminal include:
- Dimensions: L 17.8 cm, W 7.8 cm, H 5.4 cm
- Weight: 390 grams
- Connectivity: Wi-Fi + 4G with an included SIM card provide a stable and fast connection on the go. The 4G option is already configured upon the terminal's first power-up.
- Receipt Printing
- Operating System: Android™ – allows for continuous software updates that occur automatically when connected to the internet.
- Smart Charging: Capable of supporting a full day of activity. It is recommended not to keep the terminal connected to the charger for extended periods, as this could lead to premature battery deterioration.
Setting up the PAX A920 Pro Android™ device is straightforward. Simply follow these easy steps:
- Remove the safety tab from the thermal paper roll and insert it into the designated compartment in the device.
- Remove the safety tab from the thermal paper roll and insert it into the designated compartment in the device.
- Connect the power adapter to the electrical outlet and the terminal.
- Power on the terminal by holding down the power button on the left side of the terminal for 5 seconds.
Once the terminal is powered on, it is ready to use without any further need for configuration, as it is pre-configured by us. You can start accepting payments now.
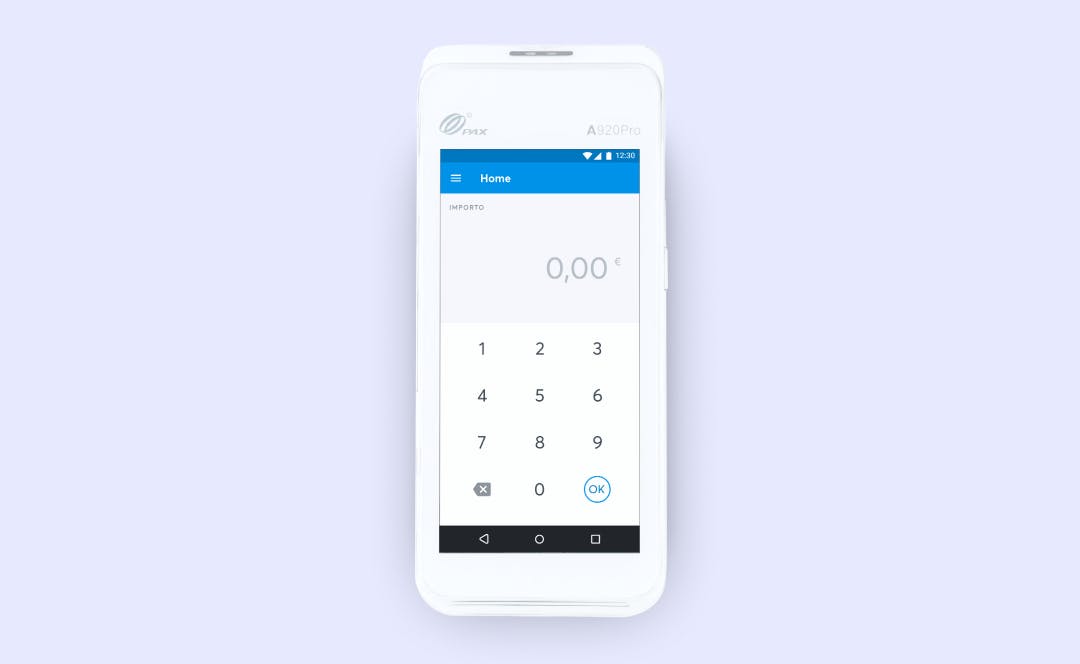
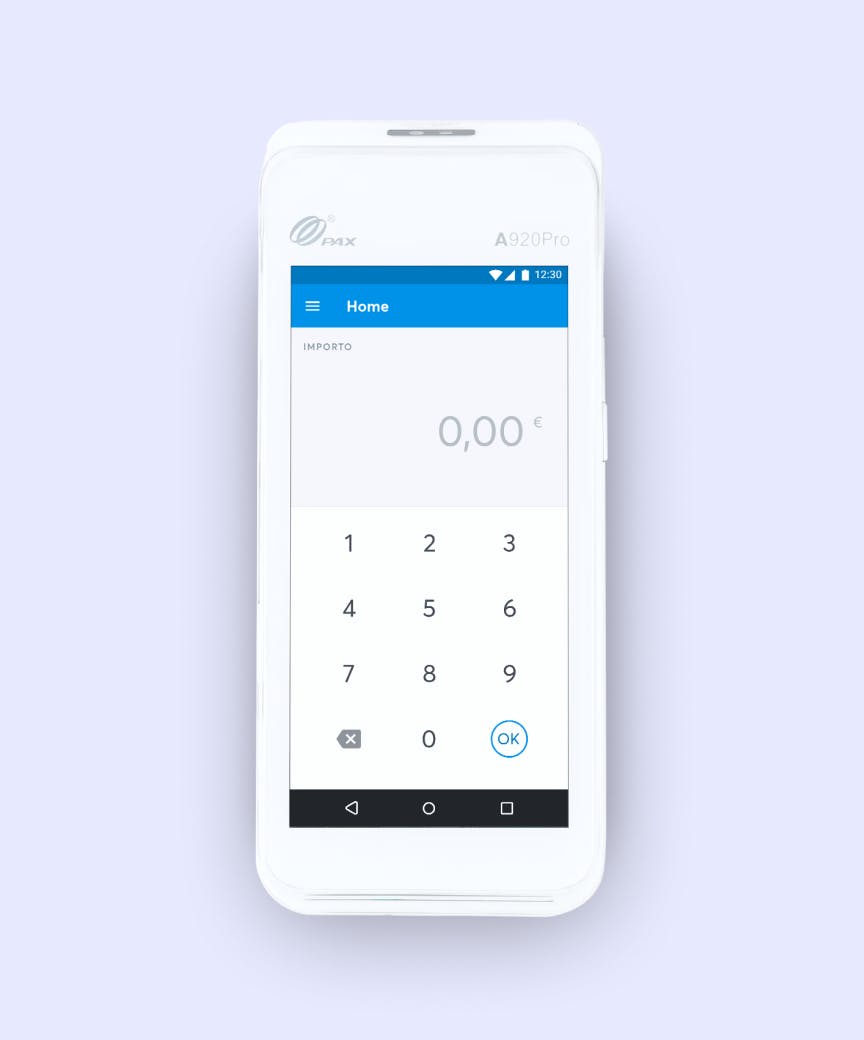
“Payments” App
This is the application you will find installed on the terminal to make a transaction. Here is how to use it:
- Open the Payments App
- Enter the amount
- Press the green button
- Tap/insert the card.
“Receipt HUB” App
The Receipt HUB application allows to digitize the receipt for the merchant or to directly print it. At the same time, by entering your e-mail, you will be able to receive the transaction receipt via e-mail.
Transaction fees may vary. To find out more about your transaction fees, please get in touch with your contact person.
The terminal allows the reversal of the last transaction within the accounting day.
In case of reversal of previous transactions, it is necessary to contact backofficeoperations@fabrick.com mailbox providing the following information:
- Transaction number
- Image of the POS receipt of the transaction
- Date and time
It is possible to reverse the total amount of the payment, not partially. The recredit times can last up to 30 days.
To obtain the access codes for the myStore Dashboard, follow these steps:
- Click on “Login” at the top right of the homepage on www.axerve.com or directly at this link.
- Select “Dashboard myStore.”
- Click on “Activate your account” located below the “LOGIN” button.
- Fill in the fields of the form and click “CONFIRM.”
- Verify and confirm your email address.
- Enter the activation key received via email.
- Choose a PIN and PASSWORD (for your first login).
- Once completed, you can access the Dashboard.
Completing the Activation
Please note that you must have completed at least one transaction with the terminal to finalise the activation.
In order to access the myStore dashboard you need to activate your account, which you can activate here. You will first be asked for some data to verify your identity, such as the merchant code (displayed on all terminal receipts), VAT number and tax code of the legal representative. Then you will have to proceed with a few simple steps where you will be asked to verify your e-mail, upload a picture of one of your payment receipts and finally, create your access codes that you will use to access your myStore dashboard.
- Open the Account section
- Click on Sub-user
- Add User
- Invite a new user
In the EXPORT section you can download customised reports at any time. You can also schedule automatic exports with the frequency you prefer for each shop or card reader.
The funds will be credited to your account no later than 3 business days without additional action required.
The most common reason a terminal stops working is due to a loss of connection, often caused by an issue with the set-up. Before contacting support, you can try to restore the device by following one of these steps:
- Turn the terminal off and on again: this action resets some functions and settings that might have become misaligned and caused the temporary issue.
- Disconnect and reconnect the power and data connection (ethernet or telephone line): this operation restores the terminal to an ideal state, similar to when it is first powered on. It also ensures a complete disconnection, even if only temporary, from both the electrical and data networks. For mobile devices, this step involves removing the battery and data SIM card from the terminal.
- Test the data connection: for terminals connected to the internet via Ethernet cable or Wi-Fi, verify that the network connection is working by testing it with a PC or another device using the same cable and socket connected to the terminal or the same wireless network.
Note
If none of these steps restore the terminal, it is advisable to contact support.